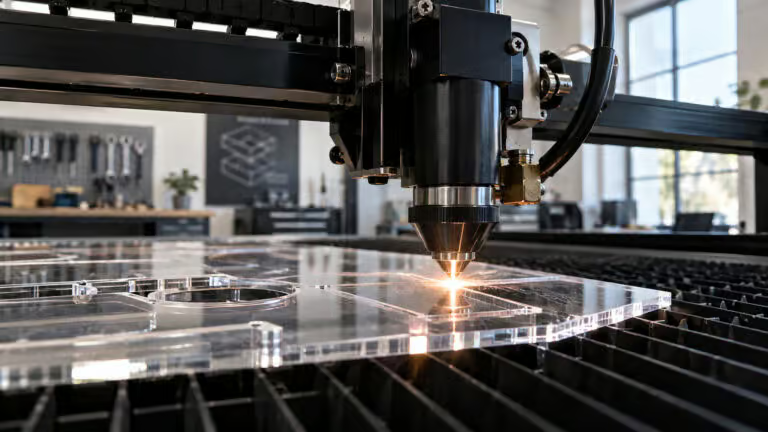
Laser cutting can be an exhilarating yet frustrating experience, especially when you’re trying to achieve that perfect cut on acrylic. Ever found yourself staring at settings charts that seem to work wonders for someone else’s machine but leave you with a scorched mess? You’re not alone. The reality is that laser cutting is not a one-size-fits-all endeavor. Various factors like wattage, tube health, and even the type of acrylic you’re using can dramatically affect the outcome. In this article, we’ll explore essential tips and settings for cutting acrylic effectively, aiming to help you navigate the complexities of this craft.
We’ll cover:
- Key Parameters for Laser Cutting
- Differences Between Cutting and Engraving
- Acrylic Cutting Settings Based on Wattage and Thickness
- Diode Lasers and Their Limitations
- The Importance of Air Assist
- Understanding Cast vs. Extruded Acrylic
- Wood and Leather Cutting Settings
- Kerf Tolerance and Design Preparation
Are you ready to dive deep into the world of laser cutting? Let’s get started!
Key Parameters for Laser Cutting
When it comes to laser cutting, there are five critical parameters you need to master: power, speed, passes, focus, and air assist. Think of these as interconnected components of a finely-tuned machine. Adjusting one will likely impact the others, so understanding how they interact is essential.
- Power determines how much energy is delivered to the material.
- Speed dictates how quickly the laser moves across the surface.
- Passes refer to how many times the laser will cut through the material.
- Focus is crucial for achieving clean cuts; it must match the thickness of the acrylic.
- Air assist helps cool the kerf and improve edge quality.
Your goal? To find the right balance. Remember, cutting too fast might leave you with a rough edge, while cutting too slowly can scorch your material.
Differences Between Cutting and Engraving
It’s easy to mix up cutting and engraving settings, but they operate on entirely different principles. When you cut, the laser beam penetrates the material at high power and low speed, often requiring kerf compensation. Conversely, engraving removes only the surface layer at a faster speed and lower power.
To summarize:
- Cutting: Full penetration, slower speed, and may require multiple passes.
- Engraving: Surface depth only, faster speed, and no kerf issues.
Before starting, double-check which mode you’re using to avoid frustrating outcomes.
Acrylic Cutting Settings Based on Wattage and Thickness
The wattage of your laser machine significantly affects your cutting speed. If you’re using a CO2 laser for 3mm acrylic, a good starting point is 60-80% power, with speeds ranging from 1000 to 1500 mm/min.
Here’s a quick reference for different wattages:
- 60W: 37 mm/s
- 80W: 50 mm/s
- 100W: 55 mm/s
- 130W: 60 mm/s
As you increase the acrylic thickness, you’ll need to adjust these speeds accordingly. For instance, a 5mm sheet will cut at about 30 mm/s, while a 10mm sheet drops to just 7 mm/s.
Diode Lasers and Their Limitations
You might wonder if diode lasers can cut acrylic effectively. The answer is nuanced. Generally, a diode laser struggles with clear acrylic due to the physics of light wavelengths. The blue light emitted by these lasers passes through clear acrylic rather than penetrating it.
For best results:
- A 10W diode can handle up to 5mm acrylic.
- A 20W diode works well for up to 15mm.
If you own a diode laser, you may find yourself making multiple passes to achieve the desired cut depth.
The Importance of Air Assist
Air assist can be a game-changer for edge quality. It helps cool the material and reduces the chances of burning. However, too much airflow can disturb the melt film, leading to frosted edges. The sweet spot often involves very little airflow for thicker acrylic, which can yield clean, transparent edges.
To optimize your cuts:
- Test with varying air assist levels.
- Observe how it affects edge quality.
Understanding Cast vs. Extruded Acrylic
Not all acrylic is created equal. Cast acrylic typically offers better clarity and edge quality, making it ideal for engraving and aesthetic projects. On the other hand, extruded acrylic is cheaper and easier to cut, although it may yield rougher edges.
When cutting, remember:
- Cast acrylic retains heat better, which may require you to adjust your settings.
- Extruded acrylic tolerates full air assist and can produce clearer edges on thinner materials.
Wood and Leather Cutting Settings
If you plan to cut wood or leather, your settings will differ significantly based on the type of material and the wattage of your laser. For example:
- 130W CO2 settings: MDF at 25-5mm/s (65-80% power).
- 40W diode settings: 100% power for hardwood at 100-150mm/s.
Always conduct a test cut to refine your settings for different materials.
Kerf Tolerance and Design Preparation
Kerf refers to the small gap created when the laser removes material. This factor is crucial for designs, especially in vector-based software. To ensure accuracy, measure the kerf on your machine and compensate for it in your design files.
Don’t forget:
- Keep your design simple; rounded edges cut better than sharp corners.
- Always preview your design before cutting to avoid wasting materials.
Incorporating masking tape can also help protect the acrylic surface, ensuring a clean cut.
The Test-Cut Workflow
Charts and vendor settings are merely guidelines. The real magic happens when you conduct test cuts on scrap material. Each machine is unique, so take the time to adjust based on your observations.
Follow this workflow:
- Set your initial parameters based on charts.
- Conduct a test cut.
- Adjust settings as needed.
- Repeat until you achieve the desired quality.
This methodical approach can save you material and frustration in the long run.
Safety Setup and Keeping Your Settings Accurate
Safety should be your top priority when laser cutting. Ensure proper ventilation, and always wear protective gear. Regular maintenance is crucial for keeping your settings accurate; a dirty lens can lead to poor cuts.
After cutting, rinse your material with water and mild soap, then smooth the edges for a polished finish.
By mastering these tips, you’ll be well on your way to becoming proficient in laser cutting acrylic and other materials. Happy cutting!